I spent three years in startup logistics watching brilliant people lose their momentum because they were fighting their own tech. There is nothing quite as soul-crushing as sitting in a high-stakes meeting, trying to explain a critical bottleneck, only to have your voice cut out or your screen freeze because your video conferencing hardware is absolute garbage. Most companies think they need to drop five figures on a “smart” boardroom setup to look professional, but honestly? Most of that is just expensive noise designed to make sales reps hit their quotas.
I’m not here to sell you on the latest shiny gadget or some over-engineered ecosystem that requires a degree in systems engineering just to turn on. My goal is to cut through the marketing fluff and tell you what actually works for a streamlined workflow. I’ve tested the gear, broken the setups, and sat through the awkward silences. I’m going to show you exactly which pieces of gear will save you time and which ones are just cluttering up your desk and your mental energy.
Table of Contents
The Only High Definition Video Conferencing Gear That Matters
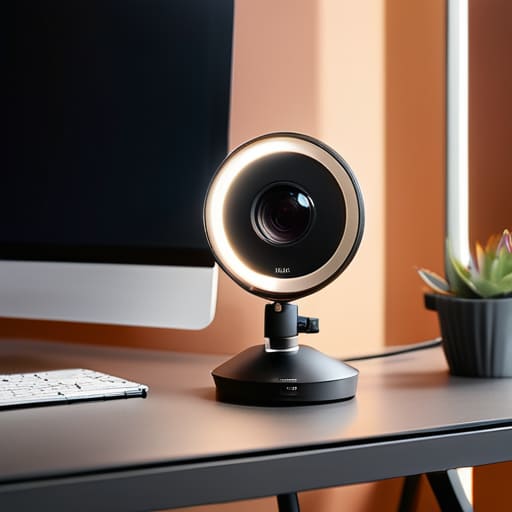
Look, you don’t need a studio-grade setup to look decent on a call, but you definitely need to stop looking like a grainy ghost from a 2005 webcam. If you’re serious about your remote work audiovisual setup, start with a dedicated 1080p or 4K webcam that actually handles light correctly. I’ve wasted way too many hours in meetings trying to fix my exposure because I was using a built-in laptop camera. A decent external lens is the bare minimum if you want people to actually focus on what you’re saying rather than the pixelated mess on their screen.
The same logic applies to your audio. You can have the crispest video in the world, but if you sound like you’re underwater, the meeting is a wash. Skip the built-in laptop mic and invest in some solid noise canceling audio equipment. Whether it’s a streamlined USB condenser mic or a high-quality headset, the goal is simple: isolate your voice from the chaos of your environment. I’m not looking for cinematic perfection; I just want a setup that works every single time I hit “join.”
Ditch the Complexity for a Simple Remote Work Audiovisual Setup
Look, most people treat their remote work audiovisual setup like it’s some high-stakes engineering project, but that’s exactly how you end up wasting half your morning troubleshooting drivers. You don’t need a massive rack of gear or a dedicated IT team just to hop on a Zoom call. In my experience, the best systems are the ones you forget are even there. If you have to think about your setup, it’s already failing you.
Instead of chasing every shiny new gadget, focus on a few reliable pillars. I always tell people to prioritize noise canceling audio equipment over a 4K camera every single time. People will forgive a slightly grainy image, but they will absolutely lose patience if you sound like you’re underwater or stuck in a wind tunnel. Get a decent mic, a solid webcam, and a lighting source that doesn’t make you look like a ghost. Keep your desk clear, your connections stable, and stop over-engineering the basics. Once you have a streamlined workflow, you can actually focus on the meeting instead of the tech.
5 Ways to Stop Looking (and Sounding) Like a Ghost in Your Meetings
- Prioritize audio over video every single time. People will tolerate a grainy 720p image, but if you sound like you’re underwater or trapped in a wind tunnel, they’re going to tune out within two minutes. Get a decent dedicated mic or a high-quality headset and call it a day.
- Stop relying on your laptop’s built-in webcam. They’re almost always positioned at a weird angle and they make you look like you’re staring up your nose. Buy a basic external 1080p webcam and put it at eye level. It’s a cheap fix that makes a massive difference in how professional you actually look.
- Lighting is the ultimate cheat code. You don’t need a professional studio setup, but if you’re sitting with a bright window behind you, you’re just going to be a dark silhouette. Face the light source or grab a cheap LED ring light so people can actually see your face when you’re making a point.
- Don’t overcomplicate your cables. I’ve seen people try to build these massive multi-monitor, multi-mic rigs that take ten minutes to boot up. If it’s not plug-and-play, it’s not worth the headache. Stick to USB-based gear that works the second you plug it in.
- Control your environment, not just your gear. The most expensive mic in the world won’t save you if your room has a massive echo or a barking dog in the background. Use a bit of soft furniture to dampen the sound or invest in a software-based noise cancellation tool to kill the background chaos.
The Bottom Line
Stop chasing specs and start chasing reliability; if your gear takes more than two minutes to set up, it’s failing you.
Prioritize audio quality over 4K video every single time because people will forgive a grainy picture, but they won’t tolerate a distorted mic.
Invest in a minimal, dedicated setup rather than trying to make a bunch of cheap, disconnected gadgets work together in a messy ecosystem.
## Stop Overengineering Your Desk
“I don’t care if your camera has 4K resolution if you’re spending half your morning troubleshooting drivers or fighting a messy background; give me a reliable, plug-and-play setup that lets me focus on the meeting instead of the gear.”
Mateo Salcedo
Stop Overthinking the Setup
Look, we’ve covered a lot, but the takeaway is simple: you don’t need a studio-grade lighting rig or a $1,000 microphone to be taken seriously. You just need gear that doesn’t fail you when you’re mid-sentence during a high-stakes call. Stick to a solid 4K webcam, a decent external mic to kill the room echo, and a lighting setup that doesn’t make you look like a ghost. If you focus on reliability over flashy specs, you’ll save yourself from the daily headache of troubleshooting your hardware right before a meeting starts. It’s about eliminating friction, not collecting expensive toys that sit idle on your desk.
At the end of the day, your tech should be invisible. If you’re spending more time tweaking your OBS settings than actually talking to your team, you’ve already lost the battle. The goal isn’t to have the most impressive setup on the Zoom grid; it’s to have a workflow that lets you show up, communicate clearly, and get back to the work that actually matters. Stop chasing the latest gear hype and just build a system that works every single time you hit “Join Meeting.” Keep it simple, keep it functional, and get to work.
Frequently Asked Questions
Do I really need a dedicated external mic, or can I just rely on a decent headset?
Look, if you’re just catching up with friends, a headset is fine. But if your job depends on being heard clearly, get a dedicated mic. Headsets are convenient, but they often sound compressed or pick up too much background noise. A decent USB condenser mic—even a budget one—makes you sound professional without the studio-level headache. Don’t overthink it: if you spend more than two hours a day in meetings, the upgrade is worth the mental energy saved.
Is it worth dropping hundreds on a 4K webcam if my internet connection is already struggling?
Honestly? No. If your bandwidth is already choking, a 4K webcam is just going to make your life miserable. You’ll end up with a high-res file that your connection can’t actually stream, resulting in a pixelated, lagging mess that looks worse than a standard 1080p feed. Don’t chase specs for the sake of it. Fix your stability first, or just invest that money into a decent mic. Audio matters way more than resolution.
How do I stop my setup from looking like a mess of tangled cables on my desk?
Look, a cable nest is just visual noise, and visual noise kills focus. I stopped trying to hide everything and started managing it. Get a heavy-duty desk mat to anchor your gear, use magnetic cable organizers to keep your chargers from sliding off, and invest in a decent under-desk cable tray. If you’re still seeing a mess, you’re likely using too many individual power bricks. Switch to a single high-wattage GaN charger and simplify the whole chain.
